
Monthly archive series: September 2023. Written and first published in October 2026.
Two days before a listing photo shoot, the useful question is no longer what could be improved about the house. It is what can be finished, safely and completely, before the appointment. A short sequence of decisions usually works better than several people cleaning different rooms while moving the same belongings between them.
For an occupied home in Northwest Ohio or Southeast Michigan, start with the spaces that explain the property: the approach, main living areas, kitchen, bedrooms and outdoor areas included in the shoot. Give each space an owner and a finishing time. The goal is a home ready to photograph when access begins.
Two days out: decide where everything goes
Walk the planned route with a laundry basket and a notepad. Separate everyday clutter from items that need an actual decision. Mail can go into a closed drawer. A large exercise machine, unfinished repair or room full of boxes needs a conversation with the agent before anyone promises it will disappear.
Choose one storage location that is outside the agreed photography scope. Confirm that choice with the photographer if the garage, basement or closets are selling features. Moving everything into a room that also needs photographs simply postpones the work. Keep paths, doors and equipment access clear; do not create a stack that someone must climb around.
This is also the time to arrange help for heavy furniture, pets and vehicles. The photographer should not arrive to discover that the only person with the garage remote is away or that a large dog cannot be moved safely.
The day before: finish the work that leaves a mess
Complete ordinary cleaning before the final arrangement. Clean counters, floors, mirrors and accessible glass, then put cleaning supplies away. Check beds and visible linens. Straighten furniture so room entrances and important fixtures remain easy to see. Leave sufficient time for recently cleaned surfaces to dry.
Avoid starting a cosmetic project that may still be unfinished the next morning. A room with a consistent, presentable finish is easier to photograph than one with fresh patching, open paint cans and furniture pushed into the center. Ask the agent which unfinished items materially affect the planned presentation and whether the appointment needs to change.
Use the TREM419 photo shoot preparation checklist as a room-by-room reminder. Mark tasks complete only after the supplies and displaced belongings are stored.
Appointment morning: make a short reset
The final pass should be light enough that the household can actually complete it. An ambitious cleaning schedule on shoot morning tends to collide with getting people, pets and vehicles out of the way.
- Clear kitchen and bathroom counters of daily-use items.
- Make beds, straighten towels and close drawers.
- Remove visible trash, laundry baskets and delivery packages.
- Move vehicles from the planned exterior views where practical.
- Secure pets and tell the photographer where they are.
- Confirm entry instructions and the on-site contact’s phone number.
Do not hide important property conditions beneath furniture or temporary coverings. Preparation should make the home easier to understand, including features that will remain after the seller moves.
Protect the appointment from last-minute confusion
Give one person responsibility for the final walkthrough and questions. If a room will be excluded, a repair is incomplete or an exterior feature needs special attention, explain that before capture begins. A short written note is more useful than several different instructions delivered during the shoot.
Check the agreed service scope too. A virtual tour may see areas beyond the still-photo angles, and an aerial view may show the driveway or yard where clutter was moved. Our shoot process guide explains the basic preparation and delivery sequence. Once those details are settled, leave the rooms ready and let the photography appointment focus on the property.
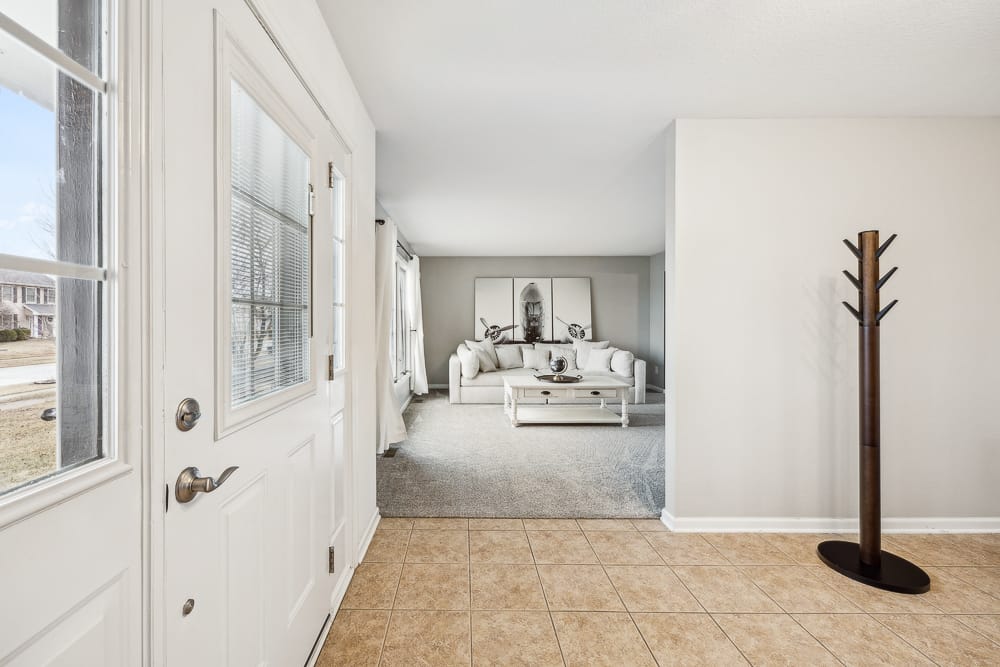
Photograph from the TREM419 property media library, used to illustrate this guide.