
Monthly archive series: March 2024. Written and first published in October 2026.
Windows do several jobs in a property photograph. They help define the room, show its connection to the outdoors and reveal the placement of furniture. They can also reflect people, screens and clutter that are not obvious when someone walks through the space quickly.
Before a spring photo appointment, treat windows and reflective surfaces as part of the room preparation. You do not need to predict the photographer’s exposure choices. You do need clean, accessible surfaces, working coverings and a clear account of anything that should not be visible in a reflection.
Begin with what the glass will show
Look through each important window from the room’s likely viewing positions. Note whether it faces a yard, patio, neighboring building or another feature. Move temporary objects outside when appropriate, such as bins directly beside a window or tools left on a deck. Keep permanent conditions visible and describe them accurately.
If a particular view matters to the listing, tell the photographer before the appointment. A useful view may need a different angle from the one that best explains the room. It is reasonable to discuss both purposes rather than expect one image to solve every question.
Clean accessible surfaces and stop there
Remove obvious fingerprints and smudges from glass that can be reached safely. Clean nearby sills and straighten curtains. If outside cleaning requires risky access, arrange an appropriate professional rather than improvising at the last minute. A photo deadline does not justify unsafe ladder work.
Check mirrors, glass cabinet doors and glossy appliances too. Their reflections may include the opposite side of the room, making clutter visible from an unexpected direction. Preparation works best as a full-room pass instead of cleaning only the surfaces that face the doorway.
Leave window coverings ready to adjust
Raise or lower blinds only as they are designed to operate. Tell the photographer about stuck mechanisms, loose fittings or coverings that need special handling. Keep cords managed safely and avoid tying them into an improvised arrangement for appearance alone.
Do not assume every window must be fully uncovered. The best position depends on the room, view and lighting. A consistent, functioning setup gives the photographer options. If the seller wants a particular treatment kept in place, explain that preference in advance so it can be balanced with the planned views.
Check reflections for private information
Stand in several positions and look at what mirrors and glass surfaces reveal. A family calendar, computer screen or document on a nearby desk may appear indirectly. Turn off unnecessary screens, put away personal paperwork and move sensitive belongings before capture begins.
The same principle applies to a virtual tour, where viewers may be able to explore directions that a still photograph does not show. Review the preparation scope when choosing photography and tour services. Do not rely on a final crop to remove information that could have been stored before the appointment.
Keep the room and view believable together
Interior photography often involves balancing different brightness levels. That does not mean a photograph should invent a different view or hide a neighboring structure. Explain any concern to the photographer and agent, and keep the marketing presentation consistent with what someone will find at a showing.
For background on the capture approach, read our HDR introduction. The practical preparation remains simple: clear the room, make the windows usable and identify the view that matters.
Before leaving, make one slow circuit of the important rooms. Check glass, ledges, coverings, reflective doors and screens. A small amount of attention here can prevent an avoidable reshoot request and gives the photographer a clean starting point without asking the seller to become a lighting specialist.
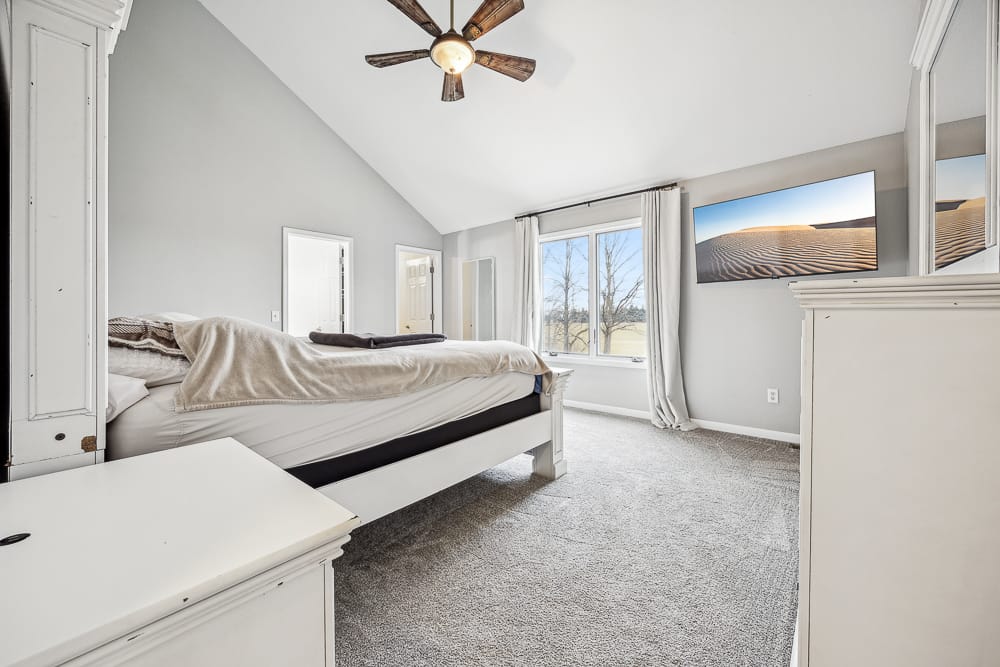
Photograph from the TREM419 property media library, used to illustrate this guide.